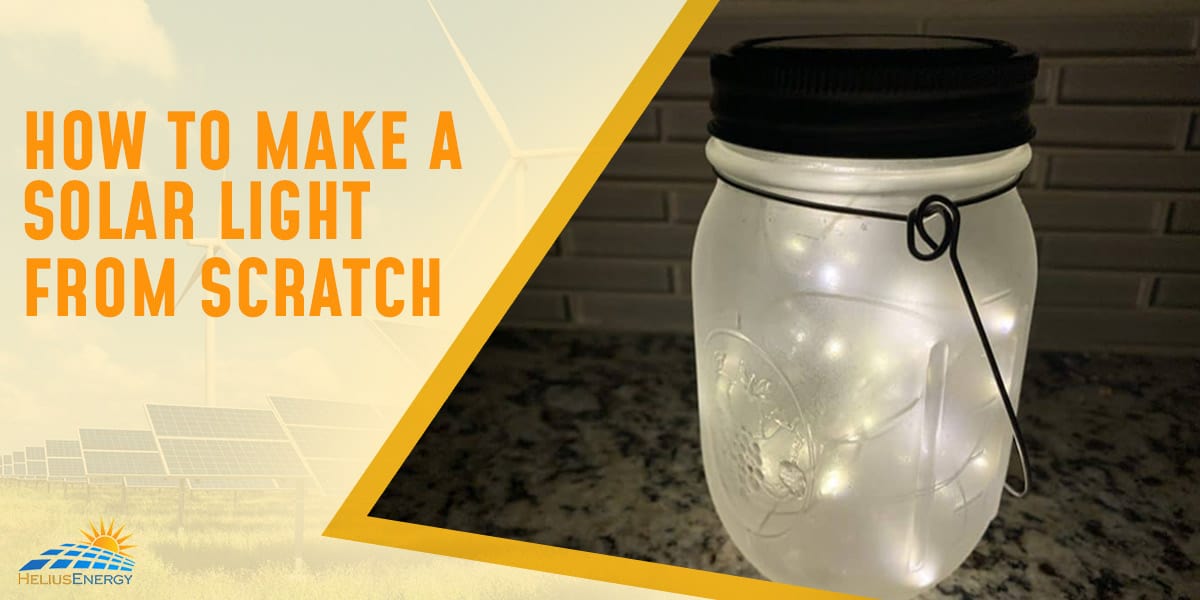
How To Make A Solar Light From Scratch
Today, we live in a world where solar energy has become a vital part of our daily norm. Solar energy has remarkable advantages and lesser disadvantages to worry about. Also, solar energy does not require fuel to operate.
To use solar energy, all you need to do is install them at your home, and therefore, no other costs are required when the sun is outshining all day long. However, many people still complain of solar energy being expensive, although that is not the case because using solar energy has actually proven to save a lot of money in the long run.
To elaborate, solar energy is also clean and limitless, with its operational costs so low due to no required usage of fuel. Well, many have even criticized that solar panels installation is still too expensive for regular consumers if they reside in areas with minimal hours of sunlight.
DIY Solar Lights
There are a few things that you need to proceed with the process of building DIY solar lighting. Find the lost below, to begin with:
- Jar
- Soldering machine or wire nut
- Hot glue gun or superglue
- Solar panel 2volts max
- Led lights
- Battery holder
- PCB circuit board with a dusk to dawn regulator switch, and
- AA or AAA NiMH batteries.
You will require a drill to pierce the jar for setting up the wire nut. You may also use the wire nut to solder the switch and the wires but before that, make sure the solar panels are not too big or too small. The LED lights should be able to function just fine by producing intense and bright white light.
Solar panels are to capture direct sun rays and convert them into electric energy. Therefore, it would help if you opted for a small one of 40mA and 2V to charge a good couple of AA NiMH batteries. However, make sure the batteries are rechargeable.
According to my suggestion, the best ones are the nickel-metal hydride batteries since they can actually retain charge for a longer period of time and are suitable for any given weather.
Firstly, you will require a PCB circuit board with dusk till dawn switch regulator that will stop charging during the night. This circuit board should be just the lid’s perfect size as it will be placed under the lid to close it well.
You can literally choose any jar of your preference and use a drill to make a hole on the lid. Mentioned below are the steps to build Do-It-Yourself solar lights:
Step 1: Buying The Products
While building something at home, the first and foremost thing to consider is to assemble all the tools and equipment required to put it all together. In order to assemble everything together, you need to gather the raw materials that will help you build a DIY solar light.
One of the most interesting things while doing a DIY is the process; you have to have fun while building something interesting.
Although you cannot possibly make or obtain all raw materials at home, the best way to start is by listing all you need and buying them from the nearest store. Therefore, you may also begin with buying necessary products, including spare parts and installation kits.
Also, sincerely remember to purchase high-quality products from a renowned manufacturer to avoid unnecessary issues.
Step 2: Cut And Trim The Wires
As we were speaking of buying good products from well-known brands, the reason behind this is to simply ensure good quality, service, warranty, and durability of the items.
Quality: You must never compromise with the quality of the products and try searching for high-quality products at affordable ranges.
Comparing the prices: It is wise to compare the price ranges of the same product from different manufacturers and websites because it brings in a lot more perspective and options to choose from.
Warranty: One of the things about DIY projects like solar-powered light is that they usually need several changes during the building process and sometimes even after completion. In case any problem arises, you have to repair it yourself and there comes the question of warranty.
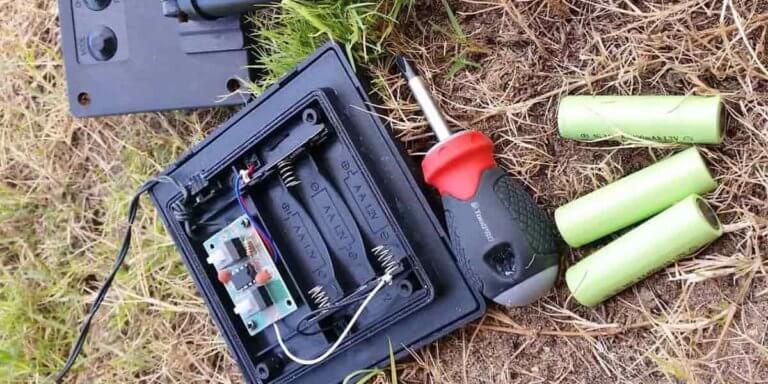
All of your battery holders, circuit board, and solar panels have black and red wires sticking out of them that need to be trimmed a little. The red wires are positive, and the black ones are the ground connection.
In case you use a different circuit board with no wires, make sure to connect the positive wires to the negative parts of the circuit board and vice versa.
After trimming down the extra-long inches, using the same cutter, now strip the insulation of the wire until you can tie the bare wires together.
On the circuit board, you may notice the words ‘battery’ and ‘solar’; therefore, make sure to connect the wires from the battery to the ones marked under ‘battery,’ and the same goes for the solar wires.
Step 3: Connect The Lights To The Circuit Board
Whenever you decide to make a light with different pieces of equipments, remember that a circuit board is the heart of the electrical device. You have to keep a connection with cable, light, and battery in solar light circuit boards, and also, you have to connect the light to the circuit board perfectly.
The solar light will get its power from the circuit board through the already installed cable. Remember to check the voltage to ensure you have installed and connected everything properly.
All you need is a good and secure connection for lasting operation. You may attach a LED light to your circuit board in case there is no built-in light on it already.
Step 4: Connect The Battery Holder To The Circuit Board
Here’s the thing to remember: you cannot run solar lights directly from your solar panels. Therefore, you have to connect the circuit to the battery, which will receive the power from solar panels through a charge controller.
Thus, this power will then be transferred to light via a circuit board. Before you dwell on connecting the circuit to the battery, you have to understand input and output voltage in detail to make a solar light from scratch. Now, depending on the kind of connection, you’ll have to go ahead with cable length, inverter, and thickness.
To connect the red wire to the red and black wire to the black, you have to solder them accordingly. Or, you may take the help of the wire nut. Pick the red wire from the battery holder and put the stripped part inside the nut.
Take the red wire from the circuit board marked ‘battery’ and place the stripped part inside the nut. Thus, this process requires a bit more patience and effort but once you have put the red wires inside the nut, turn the nut clockwise until they are nice and tough.
Step 5: Piercing The Lid
First, remove the lid of the jar and take up the tool you want to use to puncture a hole through the lid. Ensure the hole is wide enough to pull the red and black wire through, and make sure the hole is in the center of the lid to ensure panel stability. While drilling the hole, be careful not to hurt your hands in the process.
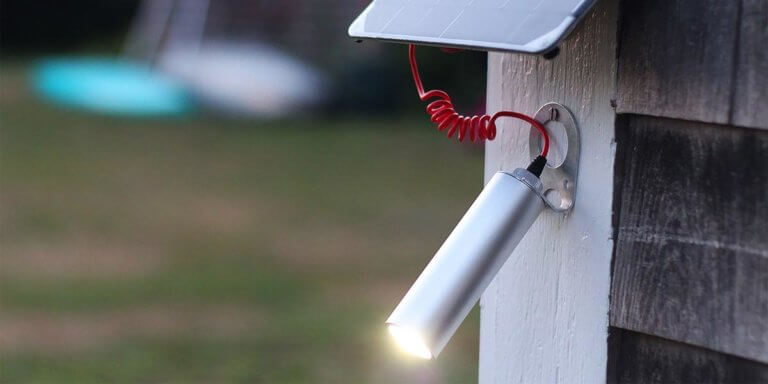
Step 6: Connect The Solar Panel To The Circuit Board
After you have already put the solar panel (polycrystalline or monocrystalline) outdoors to capture direct sunlight, make sure to connect it to the circuit board. The solar panel will obtain power from the sun and carry it to the battery.
This solar circuit panel board is responsible for receiving power from solar panels and supplying it directly to the circuit board. Although it’s a very simple system that will automatically generate and provide power to light, you still have to recheck all the connections before you put the panels out in the sun.
Step 7: Glue The Parts Together
The next important step is to put everything together and attach all the parts with superglue. Although you can still skip glue if you have a design in mind that can be achieved using just screws, it is better to opt for superglue and provide all that extra support and strength to the project.
However, before purchasing any glue, ensure the quality and durability of the product that you want to opt for. You may go around inspecting the seller to describe the quality of their glue that will fit in your solar light attachment.
You must remember that a wrong choice of glue can actually prove to be a destructive decision for your DIY project. Therefore, use high-quality super glue or hot glue to put everything together in place and close the jar to finally test your ultimate project.
A note to remember is that you can use general waterproof glue for your DIY built, which is more convenient for tight bonding and securing all the parts in place. Also, the lid that you’re using to build in your solar energy-powered light should be huge enough to be glued to the circuit board and the battery holder on both sides.
‘Disclaimer’: Be careful not to glue the batteries to the lid as it will be irreplaceable afterward, and also, keep the glue away from the edges of the jar lid.
Use A Soldering Iron
Using a soldering iron brings more possibilities and flexibilities in connecting all the parts together in an altogether different manner.
Solar Panel: Well, if the solar panel does not have the wires, you may go ahead and connect them all by soldering them using a soldering iron. There is a positive and a negative terminal on the panel, of which you have to solder the red wire to the positive one and the black wire to the negative one.
Step 8: Install A Switch
Let’s say, for example, if the circuit board does not have a switch, you can easily install one by simply purchasing from a store and connecting it with the help of a soldering iron.
You may cut the red wire from the battery holder into two parts and strip it again to have about 1.5 inches of exposed wires on both sides. Next, in order to take full charge of the light, install a switch between the solar light and the battery.
However, a high voltage switch does not work great with solar panels and lights; therefore, your solar light will require a special switch that works great with AC and DC outputs.
To continue, choose a good quality light from a known brand and install the switch in a place that will be easily accessible to you whenever in need. You may also opt for a solar light switch with two different power modes to help your needs accordingly.
Step 9: Place The Solar Light
You’re almost there, ready with your DIY solar light. Now, you can easily get access to unlimited light sources even during power cuts with your new solar-powered light.
But in order to brighten your house completely, you must select the best position to place or install your solar-powered light. If you already have a place in mind, select the installation frame and add screws with proper measurements to fix your light.
If you are yet to decide on placing your solar light, here’s a piece of advice: Install your light aside from where it will spend the glimpse throughout the room space, and there you‘ll get a powerful brightness for your everyday use.
Step 10: Test The Energy Production
You should always check or test the performance of your electrical device, especially if it’s a solar-powered one.
Test the energy production: This is an important step to check the energy production rate of the device because, without adequate energy, your solar light will not be able to function properly.
Checking the output: I case the solar panels are producing sufficient energy, the battery is supposed to provide the exact output for the light. Therefore, check the performance of the battery, and you may also compare the discharging and charging capabilities.
Checking the performance of the light: The light is supposed to provide you more brightness in case it receives enough power to operate, and additionally, you may check it with the help of lumens.
How To Maintain The Solar Light?
Firstly, congratulations now that you have finally built your own DIY solar light. Now comes the most important part that you need to consciously keep in mind: maintaining your solar light.
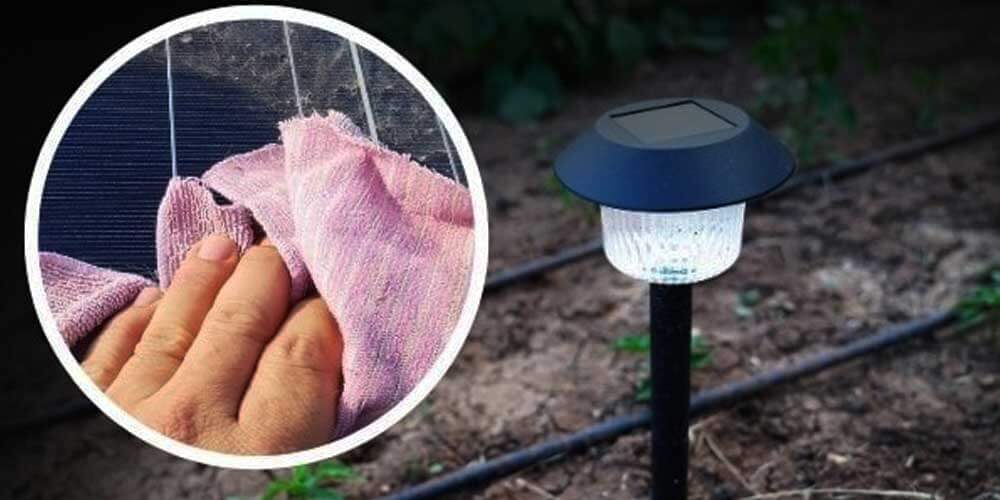
Well, to start with basic advice, make sure to change the batteries after every three or four months to ensure the durability of your solar light. Secondly, don’t forget to clean the light regularly, to keep it free of dust and dirt. Dirt can keep your light from illuminating your home and also block the solar panel from receiving direct sunlight.
It is needless to mention, do not keep the solar light outside at a place that will bring molds and dirt during the rainy seasons. This may also result in severely or permanently damaging the electrical components of the solar light.
Using Solar Lights In Places With Unstable Electricity
Interestingly, solar lights can also be used to light up daily lives, apart from being a great means for decoration purposes. In places especially like India, there are often complaints of frequent power cuts which may be reversed if replaced with solar lights.
Solar lights only require sunlight to operate, rather than expensive fuels and other maintenance costs, which makes it more convenient and an overall better choice.
Once people can learn how to make solar lights themselves, it can always become a better choice for living on those rainy days. Although purchasing solar lights may be a far-fetched dream to some people, building one with proper knowledge and guidance can be the key.
Conclusion
To conclude, building a solar light can be a fun process, provided you are aware of the dos and don’ts of making a DIY solar light. Solar lights or lamps have their own advantages and can be used beyond just a decorative tool for festivities.
However, a self-built solar light is not free of limitations. But here’s the good part, you can choose to avoid them by purchasing good quality products to avoid unnecessary issues and maintaining your solar light with proper care regularly. If you wish to get extra brightness in your solar light, you may consider purchasing a complete solar lighting package from a well-known brand.
If you ask me personally, however, I’ll differ with the previous statement. A custom solar light is a much better option since it gives you full control over your lighting demands, preferences and is easily set on the place. Moreover, it will be a good and fun experience to unfold.